2. Installation
This chapter installs the appliance from the installer media. If you wrote the ready-made image (zedmos.img) straight onto the target disk, there is nothing to install — skip to First boot.
2.1 Boot the installer
Put the stick or disc in the machine and boot from it. On most hardware that means pressing F12, F11, F8 or Esc during power-on and picking the removable device; on some, the boot order has to be changed in the firmware setup.
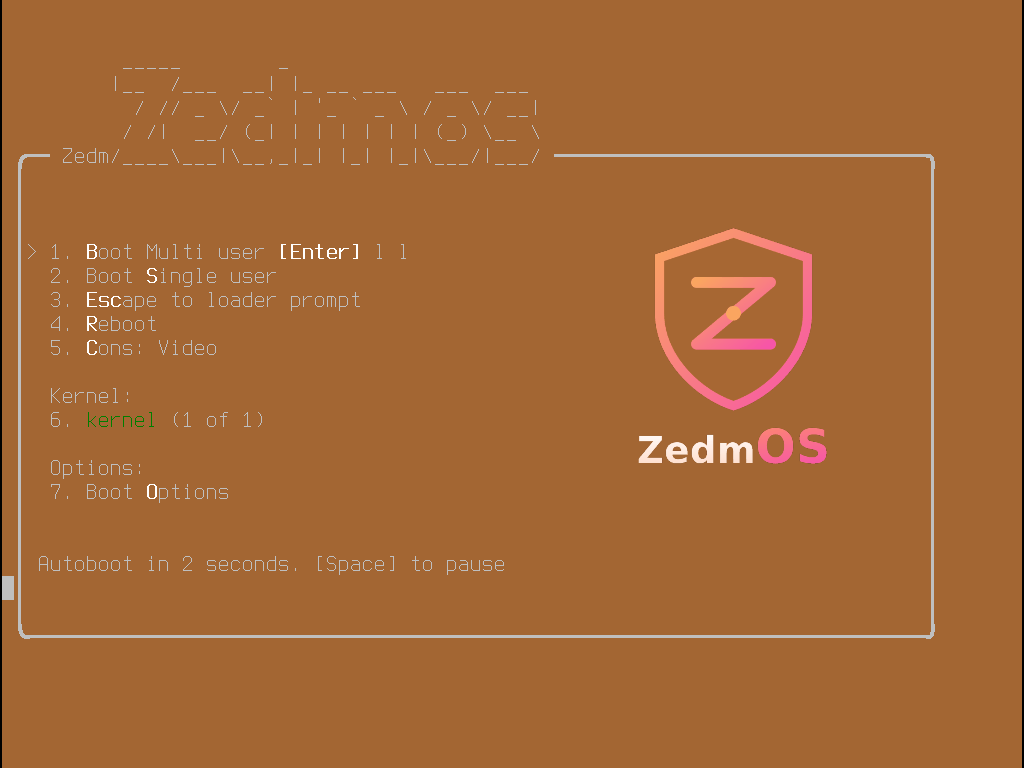
The boot loader appears first, with the product's name and a countdown. Let it run, or press Enter to boot immediately. Single-user mode and the other loader options are there for recovery and are not needed for an installation.
Nothing on screen? If the machine has no video output, you booted a VGA medium on a headless appliance. Write the serial medium instead and connect at 115200 8N1.
2.2 Keyboard layout
The first screen is Keymap Selection.
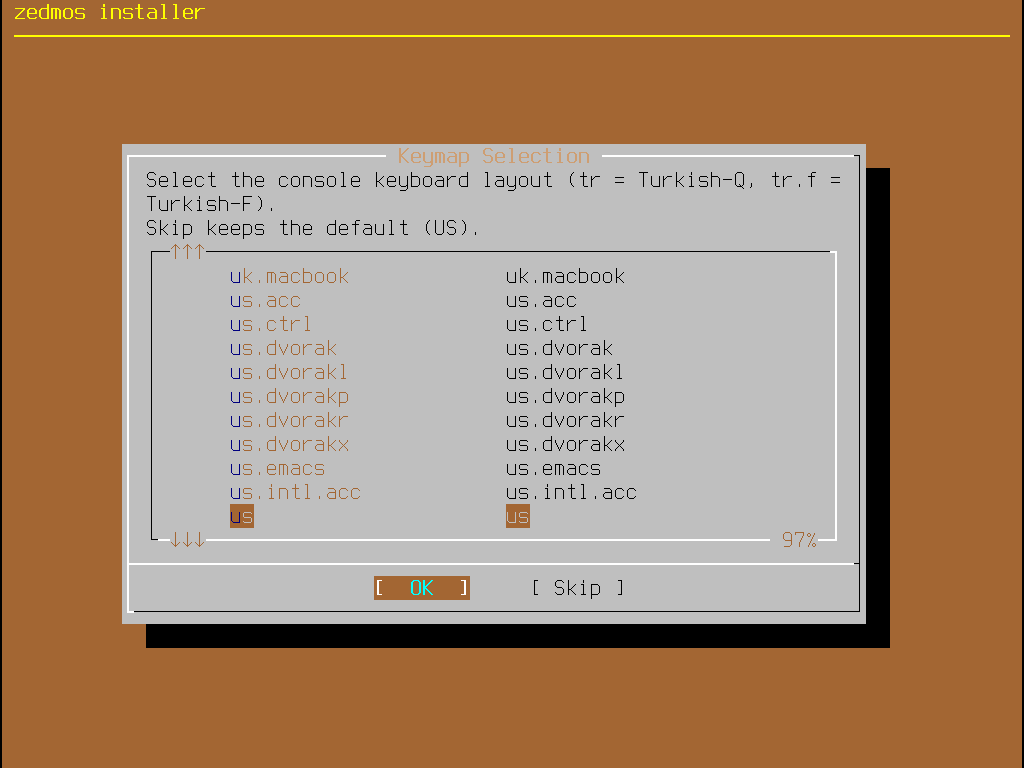
Pick the layout of the keyboard attached to this appliance — the list includes tr (Turkish-Q) and tr.f (Turkish-F) — or choose Skip to keep the US layout.
This choice matters more than it looks: the next thing you type is a password, and a mistyped password on an unfamiliar layout is a support call.
On a few machines the installer also offers a Firmware Workaround at this point — it recognises models with known BIOS quirks around booting from GPT partitions. If you are asked, accept it; the workaround is harmless on hardware that does not need it and is the difference between booting and not on hardware that does.
2.3 Choose how to install
The main menu offers seven tasks:
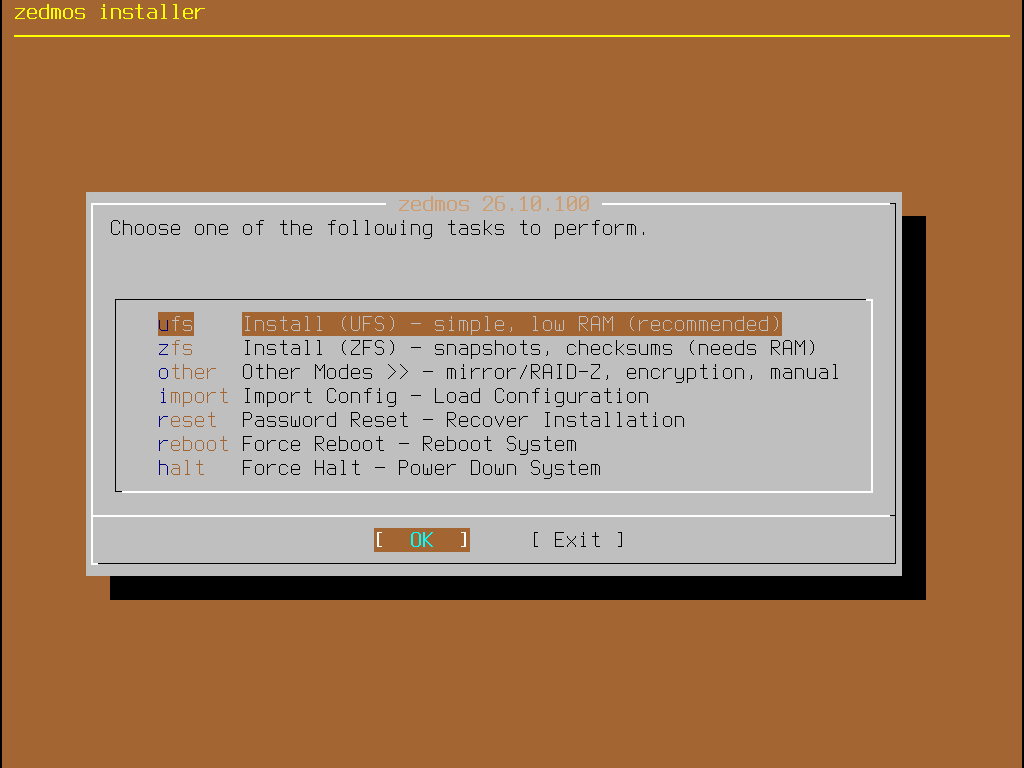
| Entry | Does |
|---|---|
| Install (UFS) | A single disk with a UFS root. Simple, modest memory requirements. Recommended unless you want what ZFS offers. |
| Install (ZFS) | A single disk with a ZFS root: snapshots, checksums and boot environments — which is what makes System → Snapshots able to roll the whole operating system back. Wants more RAM. |
| Other Modes >> | Mirrors, RAID-Z, disk encryption and manual partitioning. See 2.5. |
| Import Config | Installs and then loads a configuration you bring with you. The path to replacing hardware: install, import, done. |
| Password Reset | Not an installation. Boots the medium, mounts an existing installation and resets its root password. |
| Force Reboot / Force Halt | Leave without installing. |
For most appliances: Install (UFS) on a small disk, Install (ZFS) on a machine with 8 GB of RAM or more where you want boot environments.
2.4 Install to a disk
Pick the disk. The installer lists the disks it can see, with their size and model.
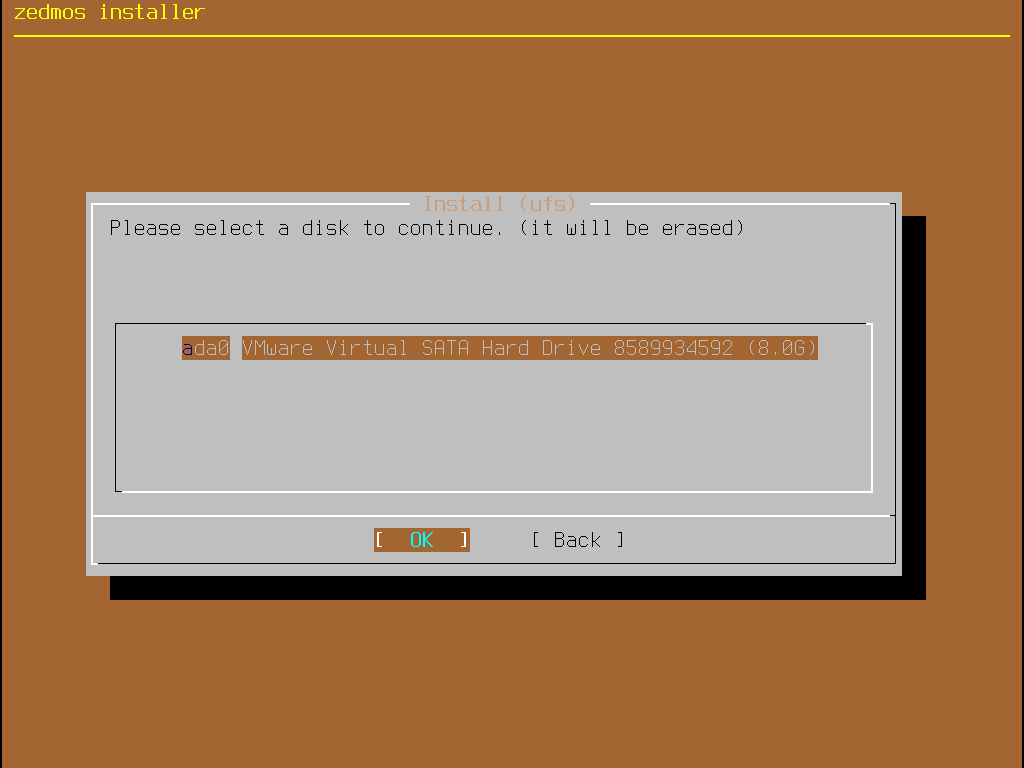
Read the model, not just the size — an appliance often has an internal disk and the USB stick you booted from, and they are both in this list.
Last Chance! The confirmation names the disk again and states what is about to happen: the disk is erased, and the system is installed with the root filesystem you chose, with 8 GB of swap on disks of 30 GB and up, 2 GB otherwise. The default answer is No; you have to choose Yes deliberately.
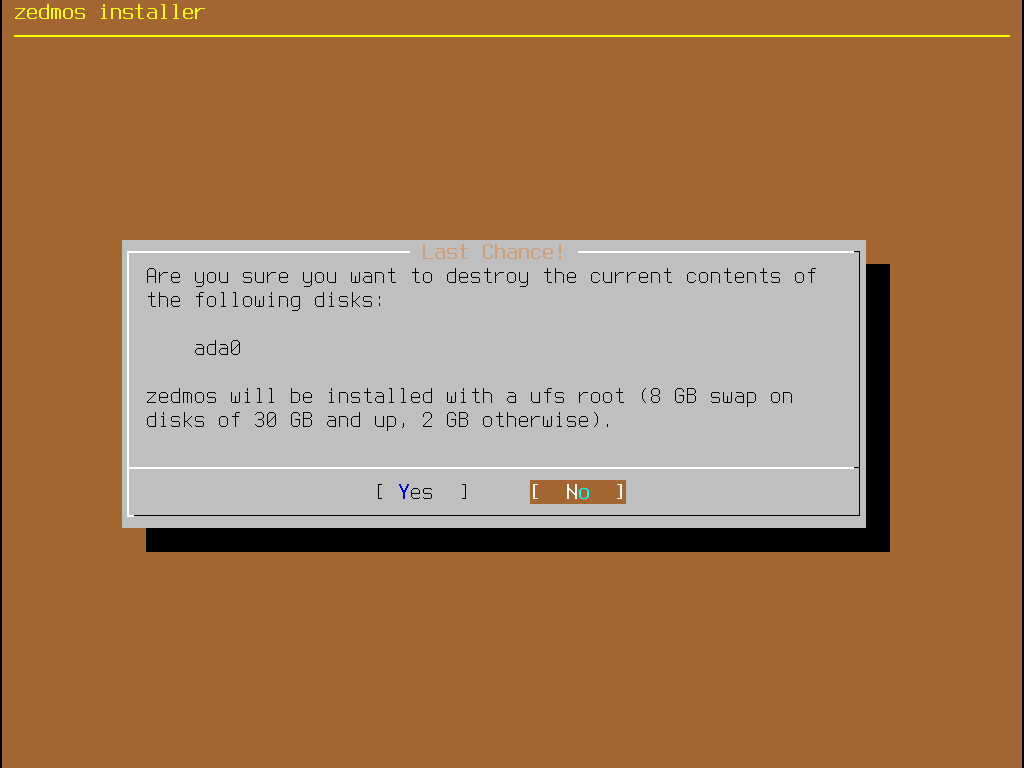
This is the last point at which nothing has been destroyed. Everything on the named disk is gone from here on.
Installation Progress copies the system and takes a few minutes; the disk and the machine decide how many.
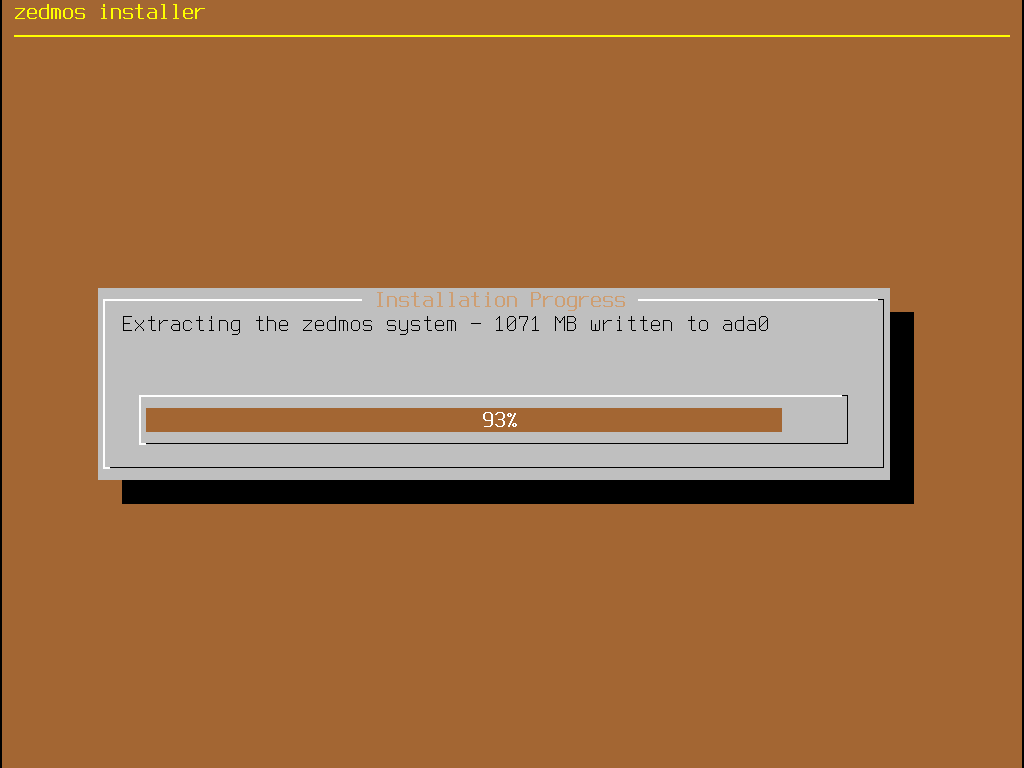
Final Configuration then offers two entries:
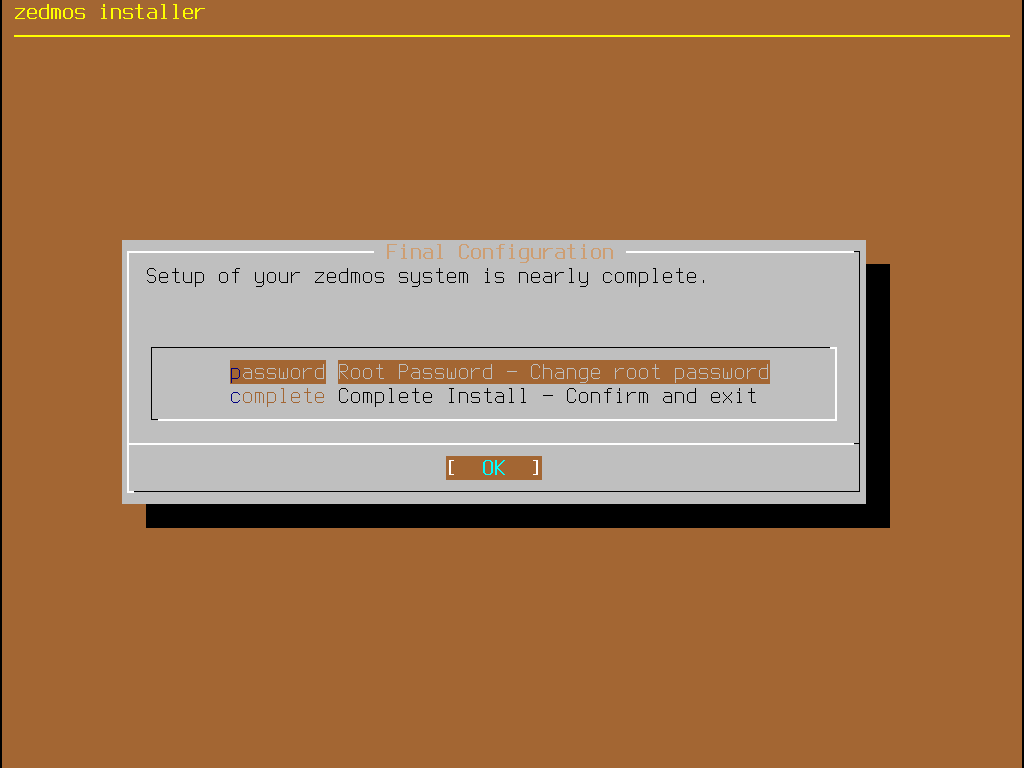
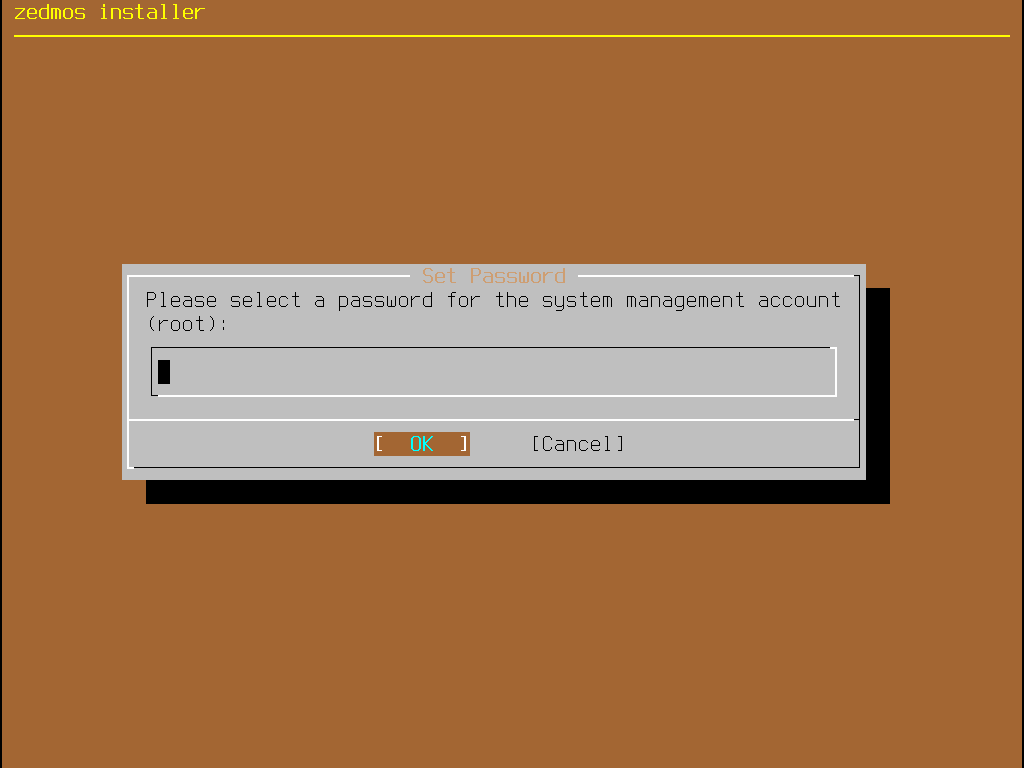
- Root Password — set it now. The password you type here becomes the console and SSH password and the web panel's password, so the appliance does not come up with the factory default. Type it twice; the installer refuses a mismatch.
- Complete Install — confirms and moves on.
Installation Complete offers Reboot now or Halt now.
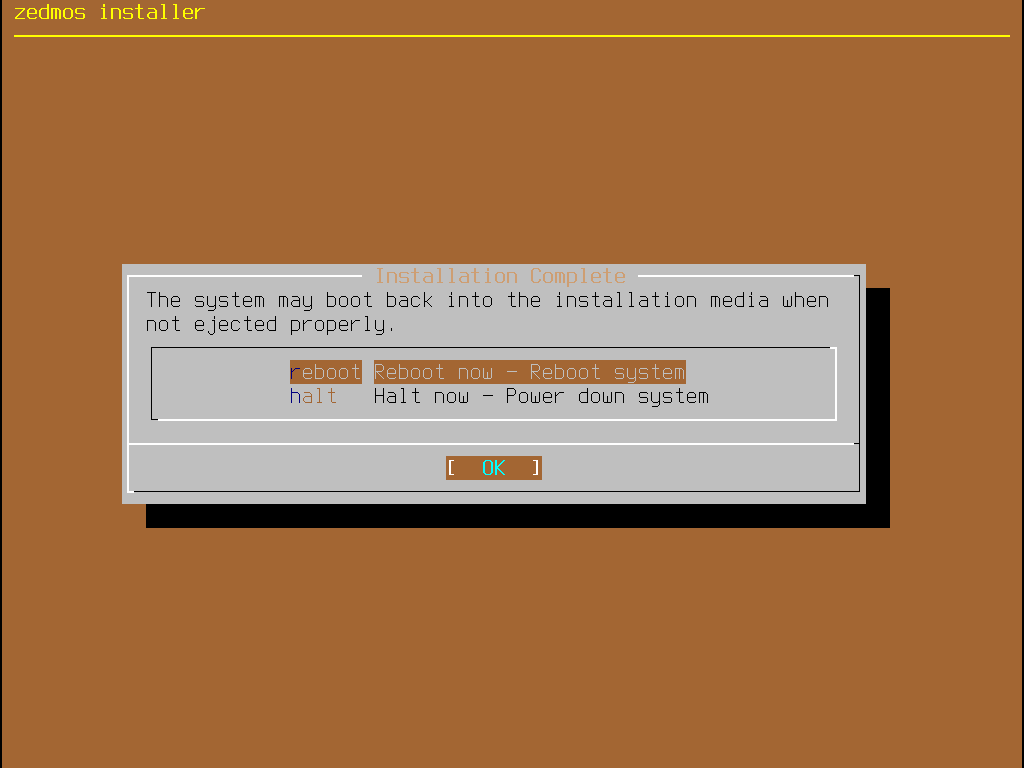
Remove the installation medium before the machine comes back up, or it may boot the installer again.
2.5 Other Modes
Other Modes hands the disk layout to FreeBSD's own installer and then installs the appliance onto whatever that produced. Four choices:
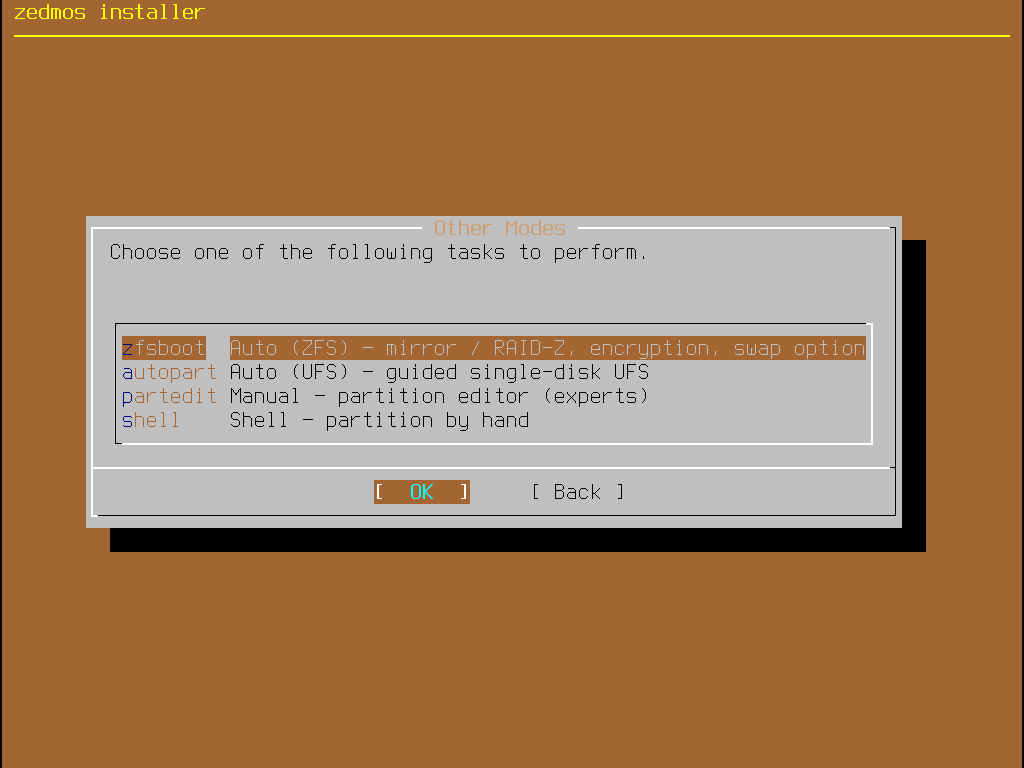
| Entry | For |
|---|---|
| Auto (ZFS) | Several disks as a mirror or RAID-Z, optional GELI encryption of the pool, and swap sizing. The choice for an appliance that must survive a disk failure. |
| Auto (UFS) | Guided single-disk UFS, the same result as the main menu's UFS entry with more control. |
| Manual | The partition editor. For a layout you have decided on yourself. |
| Shell | A shell to partition by hand, then return. |
Whatever the layout, the appliance itself is installed the same way afterwards, and the final password and completion screens are the ones described above.
Encryption has a cost you must plan for. A GELI-encrypted pool needs its passphrase at every boot, typed on the console. An appliance in a locked rack in another city cannot be rebooted remotely once you enable it.
2.6 First boot
The first boot does more than later ones, and it does it without asking:
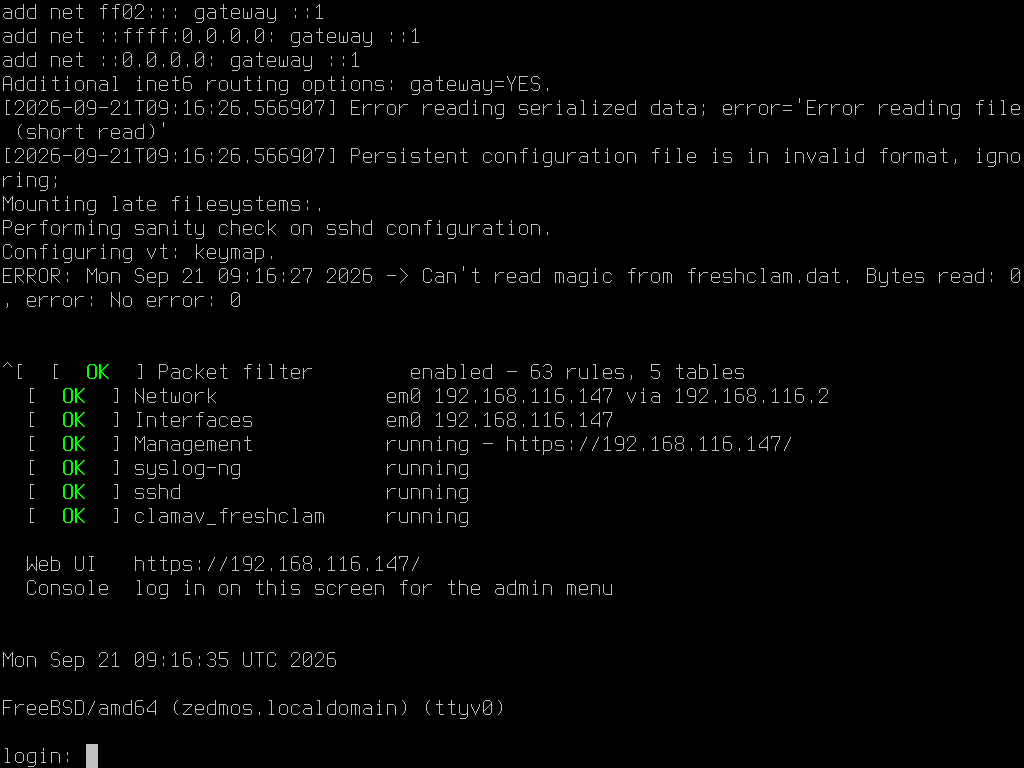
- Grows the filesystem to fill the disk.
- Generates the appliance's SSH host keys and its own TLS certificate.
- Brings up the interfaces: the uplink asks for an address by DHCP; the internal interface comes up on
192.168.1.1/24. - Starts the DHCP server on the internal interface, handing out
192.168.1.100–192.168.1.199. - Builds and loads the firewall ruleset: the internal network may reach the internet, unsolicited traffic from the uplink is blocked.
- Starts the resolver, the time service and the management daemon.
It ends at a login prompt on the console.
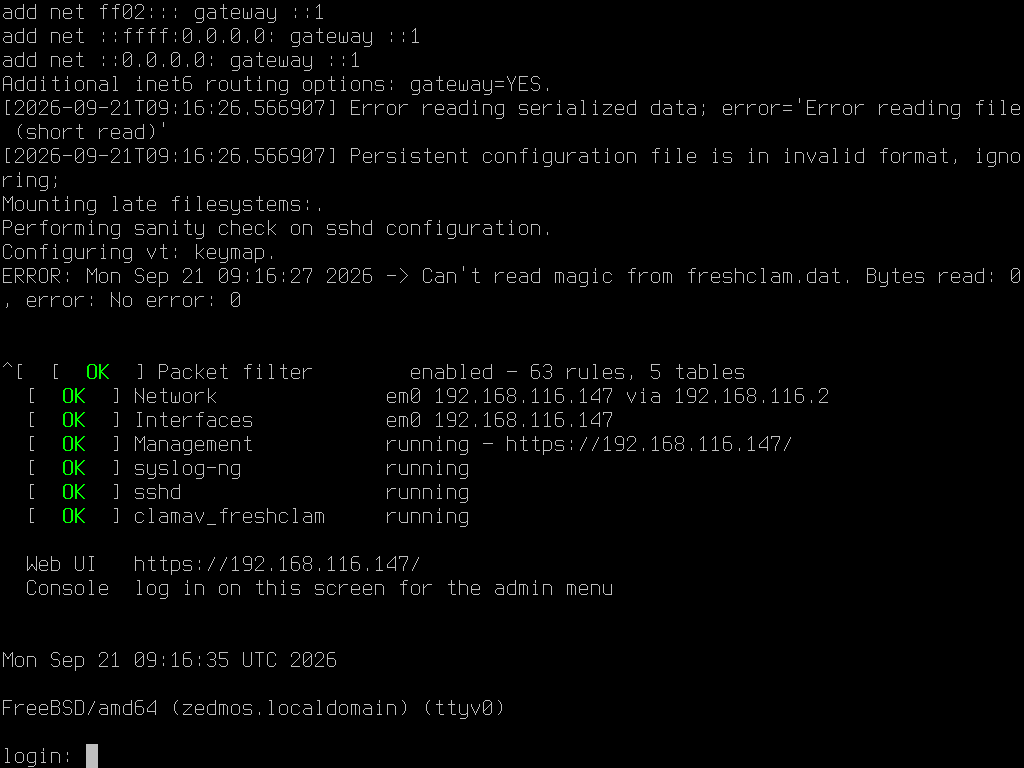
Give it a minute after that before judging anything: the last services start a little after the first ping answers.
Sign in on the console as root. On an appliance installed from the installer, the password is the one you set during installation; on one written from the ready-made image, it is zedmos. The console menu appears immediately — that is the subject of the next chapter.
Reach the panel from a machine on the internal network: https://192.168.1.1/. Your browser will warn about the certificate, because the appliance issued it to itself. Accept it for now and replace the certificate later (System → Trust).