4. First configuration
Half an hour, in order, from a freshly installed appliance to one you can leave running. There is no combined setup wizard: each step is its own page, and this chapter is the order to visit them in.
4.1 Sign in
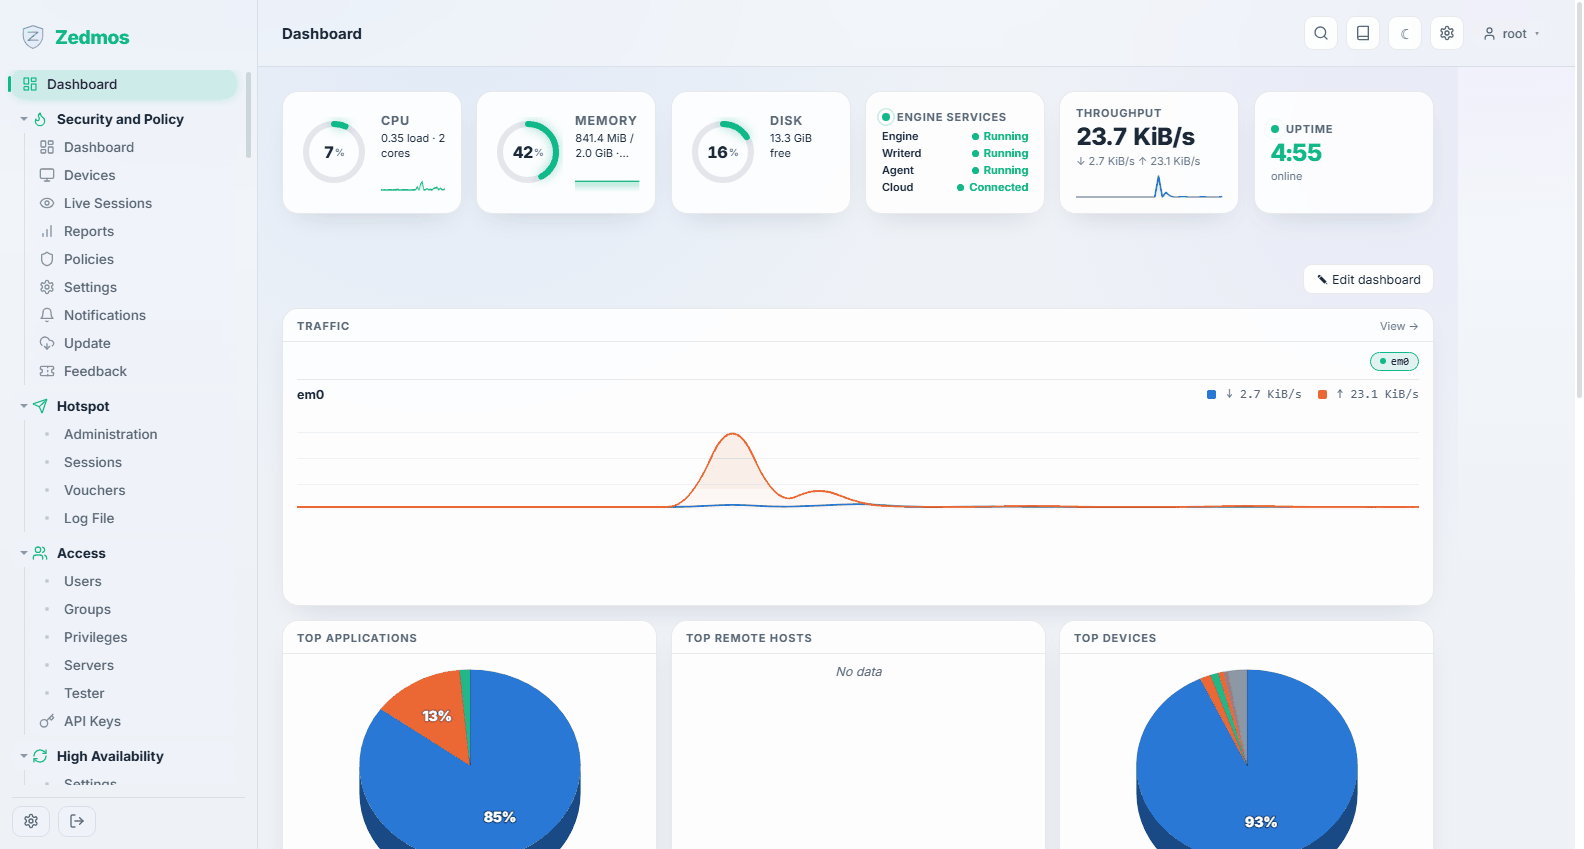
From a machine on the internal network, open https://192.168.1.1/.
The browser warns about the certificate — the appliance issued it to itself, which is the only thing it can do before it knows its own name. Accept it; you will replace it in Maintenance.
Sign in as root, with the password you set during installation, or zedmos on an appliance written from the ready-made image.
4.2 Change the password — now, not later
System → Password, or the account menu in the top-right corner.
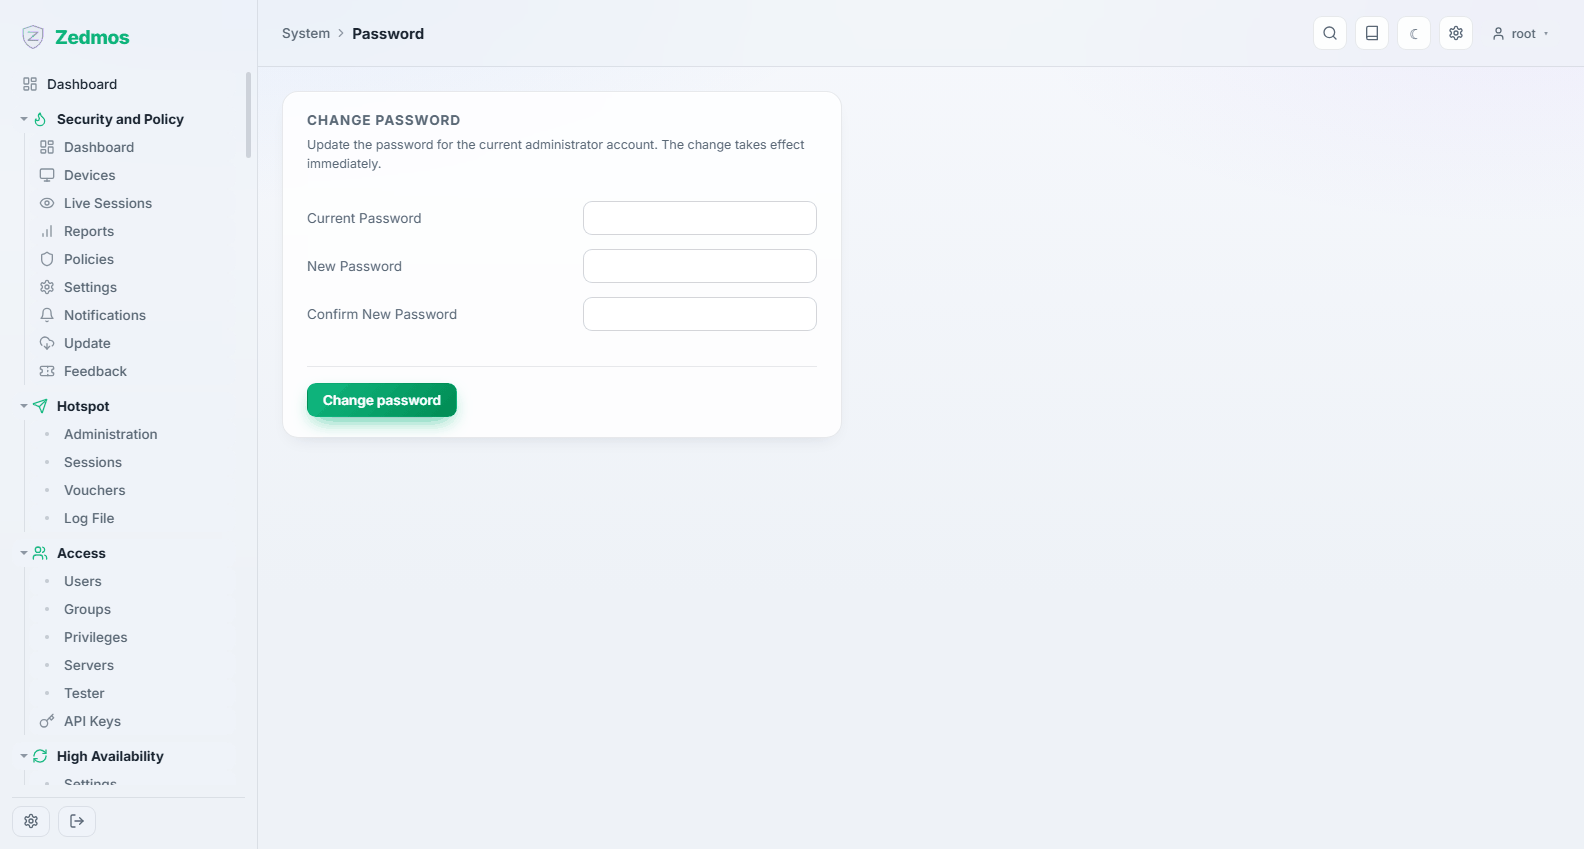
A new appliance also answers SSH on port 22 with root login and password authentication enabled. Until the password is changed, anyone who can reach the box has full control of it. Change it before the appliance is attached to a network anyone else can reach.
While you are there, decide about SSH itself: System → Settings → Administration.
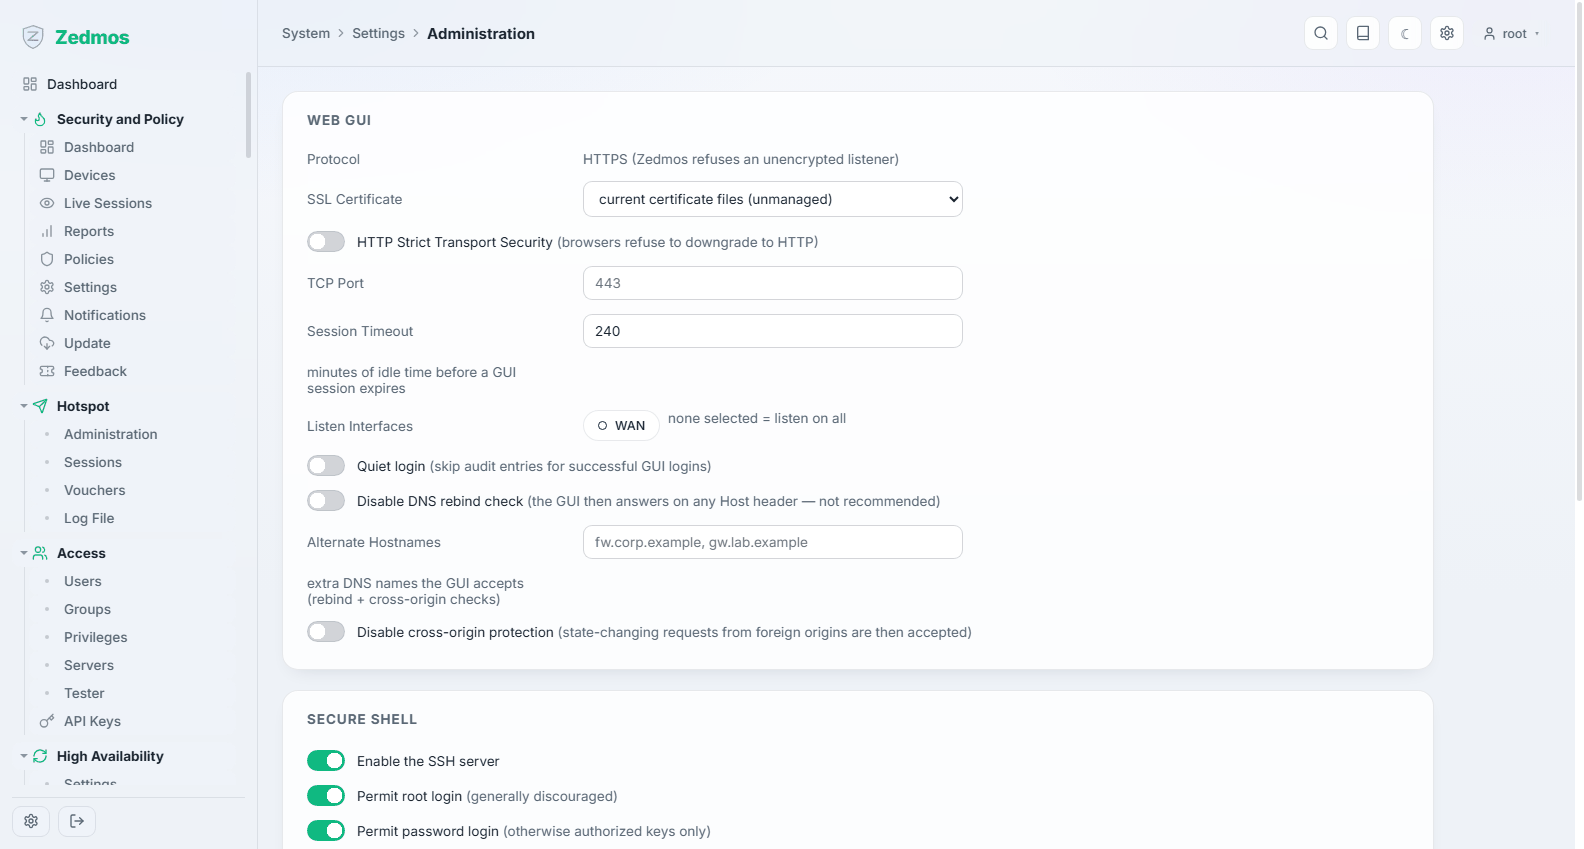
- If you will not use SSH, switch it off.
- If you will, turn password authentication off and put a public key on each administrator's account (Access → Users). Then a stolen password is not enough to reach the appliance.
4.3 Name the appliance and give it DNS and time
System → Settings → General.
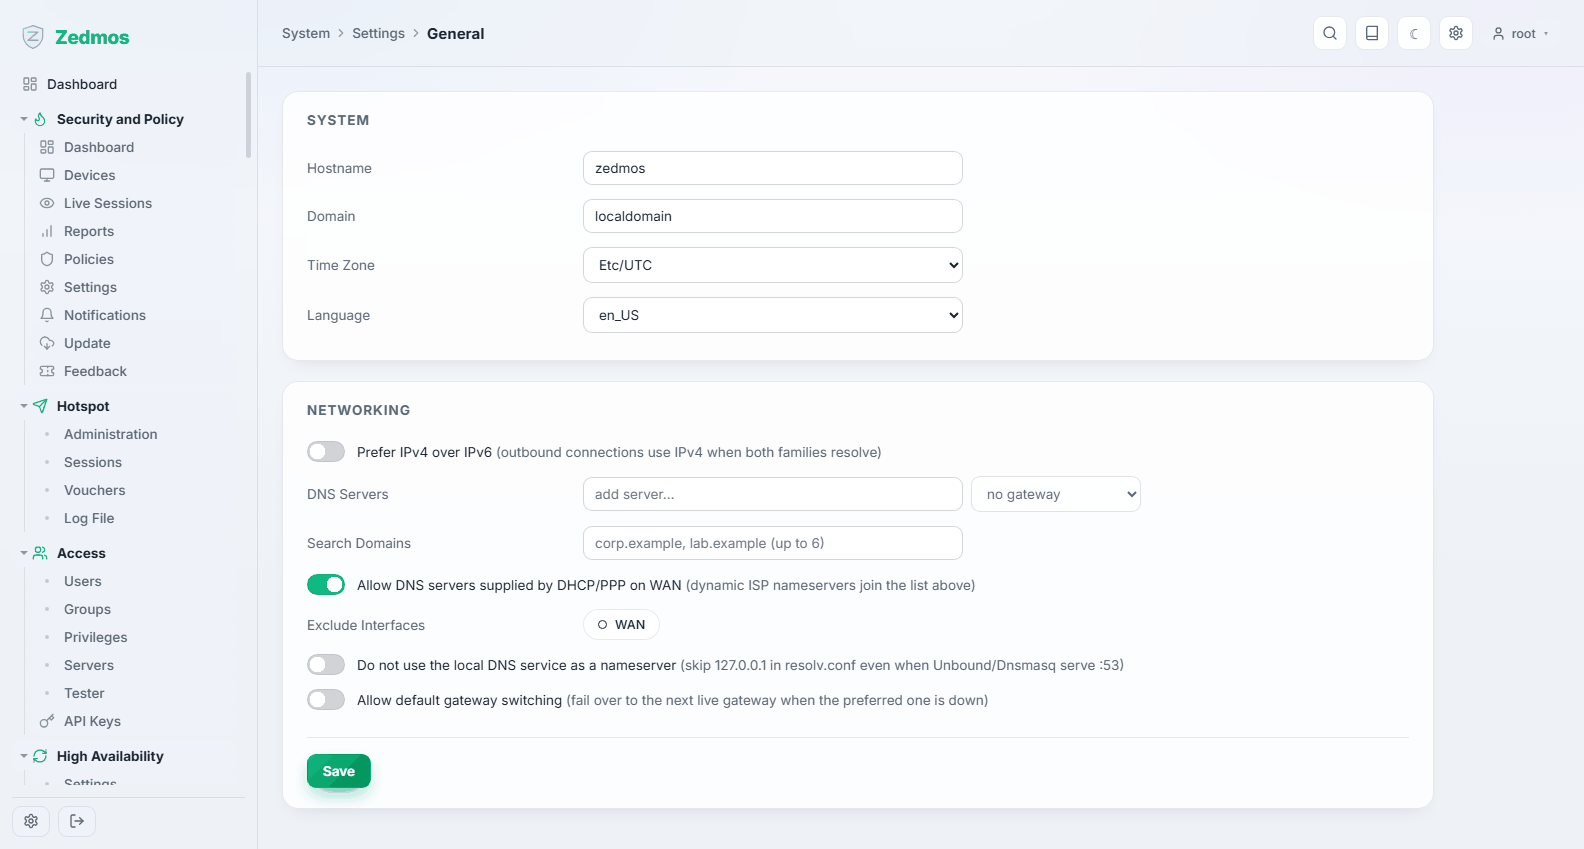
- Hostname and domain — this name appears in logs, in certificates and on the console. Name it for where it is, not for what it is:
fw-branch-ankarabeatsfirewall1. - DNS servers — what the appliance itself uses. Leaving it to the uplink's DHCP is fine for a start.
- Time zone — set it correctly. Certificate validity, VPN negotiation and every log timestamp depend on the clock.
4.4 The uplink (WAN)
Network → Interfaces, select the WAN row, Edit.
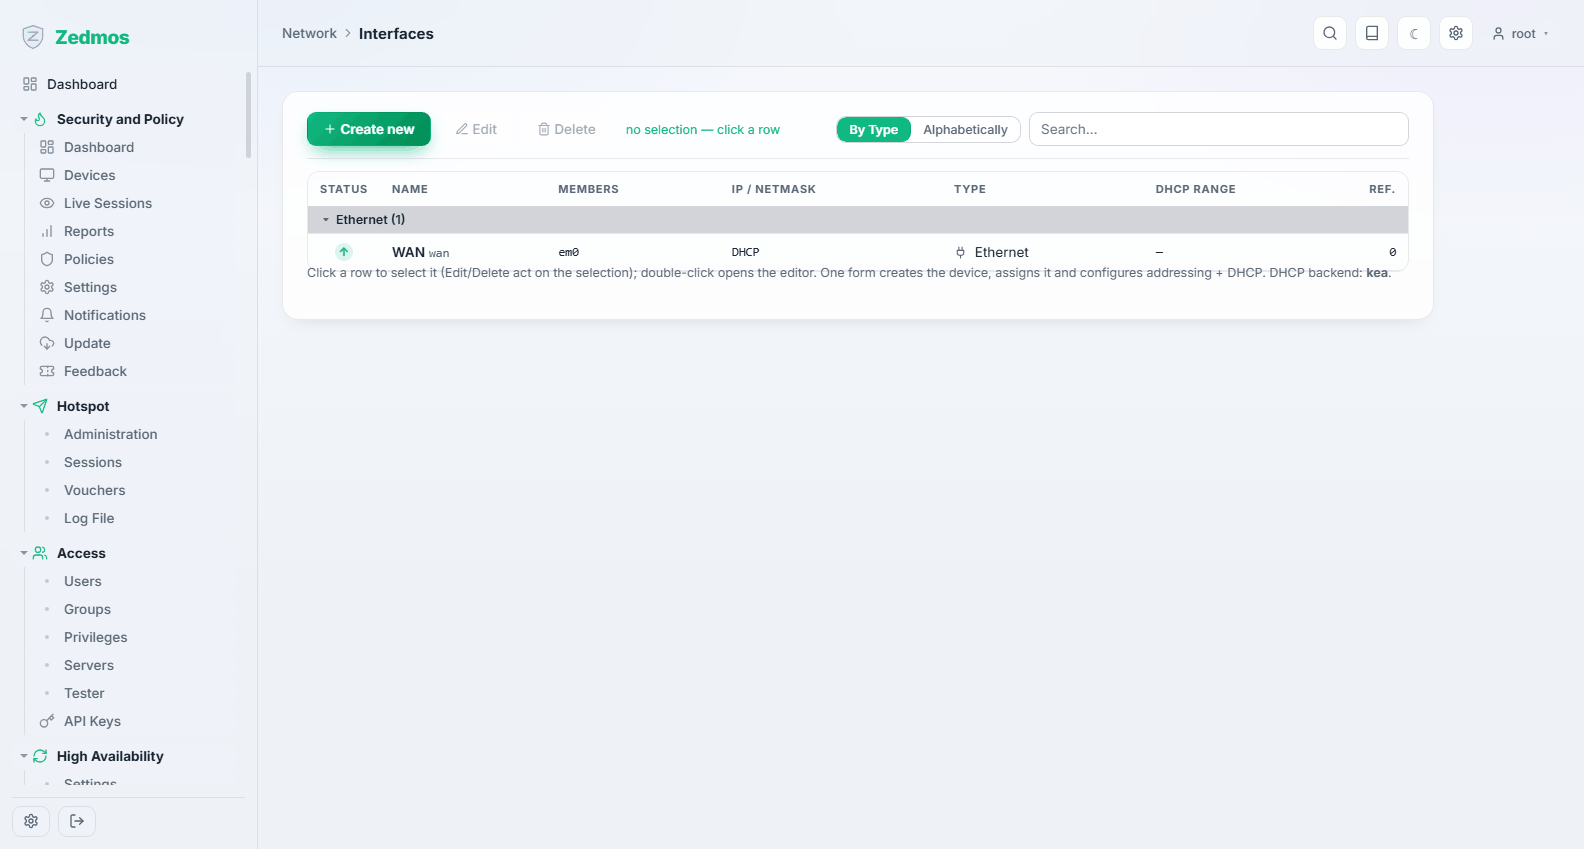
| Your uplink | Set |
|---|---|
| A router or modem that hands out addresses | Addressing Mode: DHCP. Nothing else to do. |
| A fixed address from your provider | Manual, then the address, the prefix, and the provider's gateway. |
| A DSL line with credentials | Create the interface with Type: PPPoE and enter the user name and password your provider gave you. |
On a WAN it is normally right to keep block private networks and block bogon networks on: they drop traffic claiming to come from addresses that cannot legitimately be on the internet.
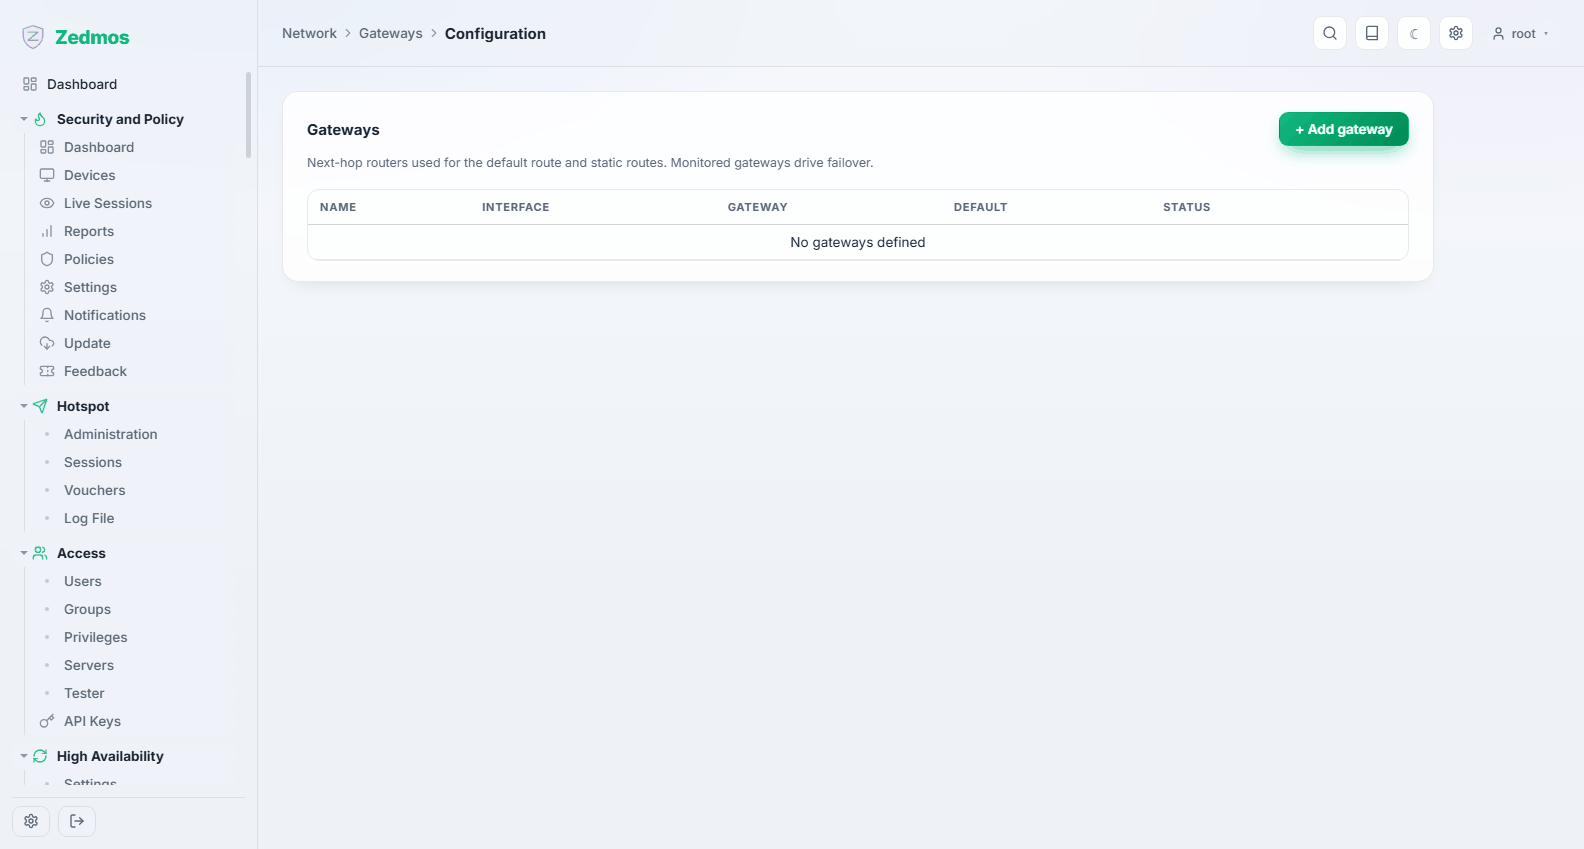
Check it worked: Network → Gateways → Configuration should show the gateway as up, with a round-trip time.
4.5 The internal network (LAN)
Still in Network → Interfaces, edit the LAN row.
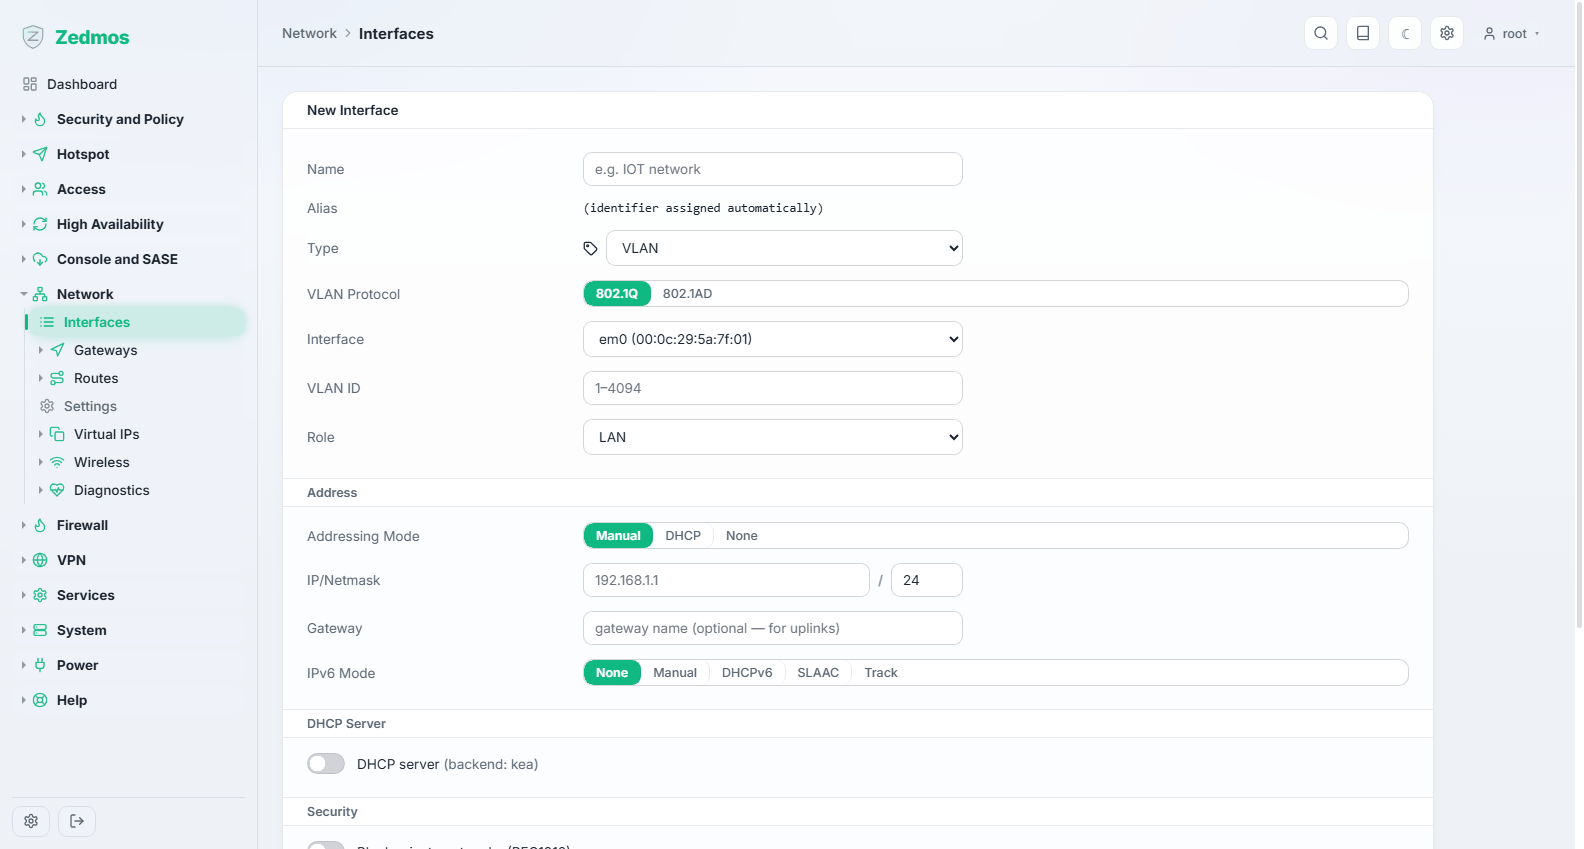
- Addressing Mode: Manual, with the address the appliance will have on that network —
192.168.1.1/24out of the box. Change it if that range collides with something you already run, and remember that changing it drops your session: you will come back on the new address. - DHCP server — on, with a range inside the network that excludes every device with a fixed address. The appliance checks the range for you.
Need more networks — a guest VLAN, a separate network for cameras? Create new with Type: VLAN, the parent interface and the tag; give it an address and its own DHCP range in the same form. Then write the rules that say what that network may reach: a new interface starts with nothing allowed, which is the right default and also the reason a new VLAN "has no internet".
4.6 Prove it works
In this order, because each step depends on the previous one:
- The appliance itself has a gateway — Network → Gateways, state up.
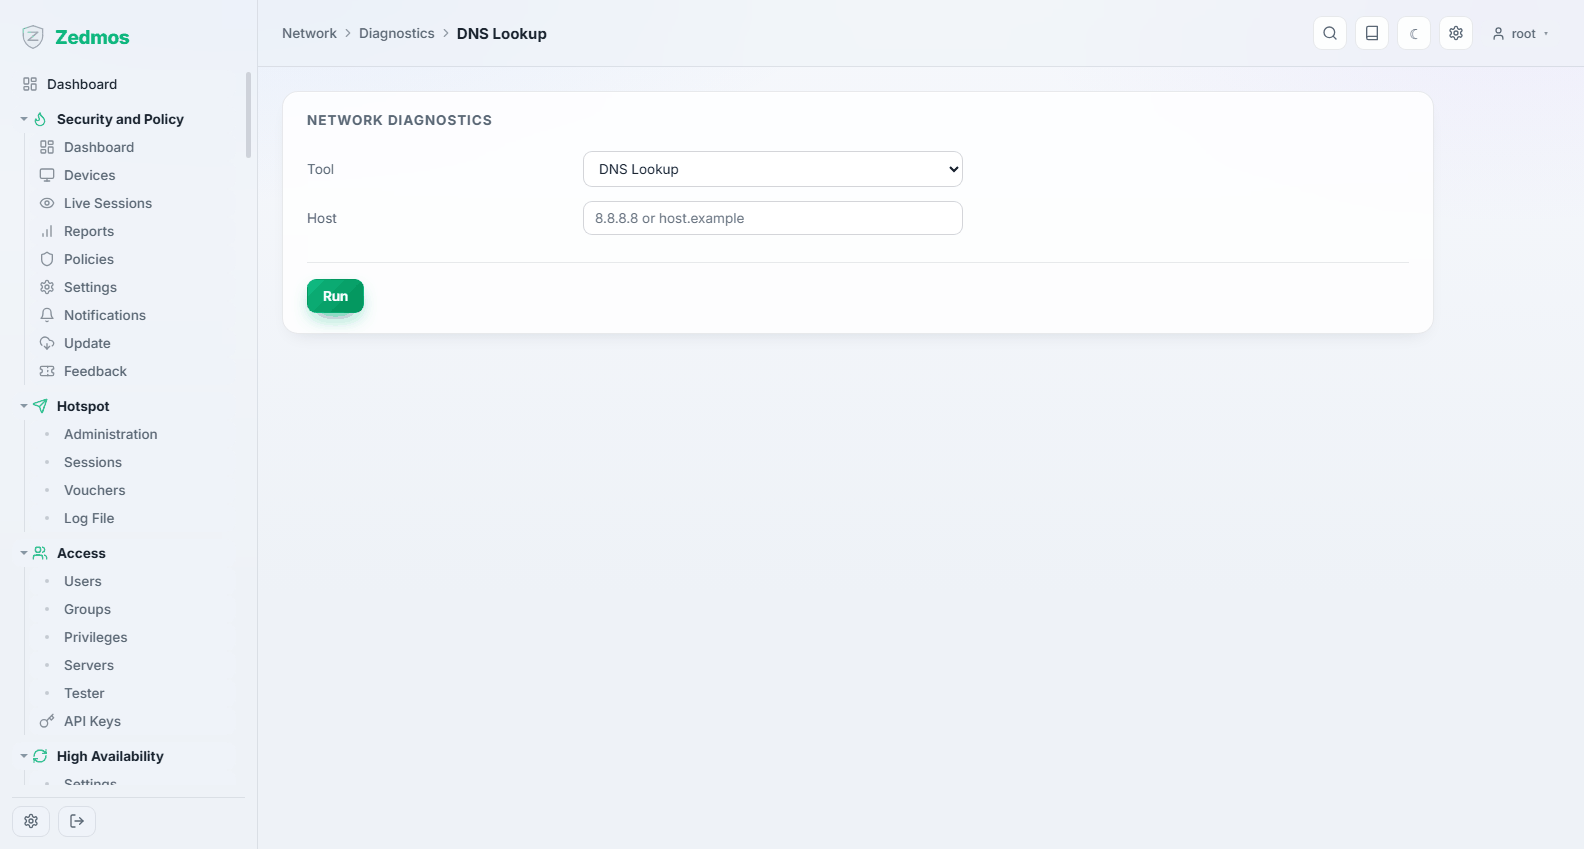
- The appliance can resolve names — Network → Diagnostics → DNS Lookup, look up any public name.
- A client gets an address — on a laptop on the internal network, confirm it received one from the range you configured (Services → Kea DHCP → Leases DHCPv4 shows it from the appliance's side).
- A client reaches the internet — open any site from that laptop.
- The firewall is filtering — Firewall → Log Files → Live View shows traffic and the rules matching it.
If step 4 fails while step 2 succeeds, the appliance has internet and the client does not: look at the LAN rules first (Troubleshooting).
4.7 Review the rules you were given
Firewall → Rules.
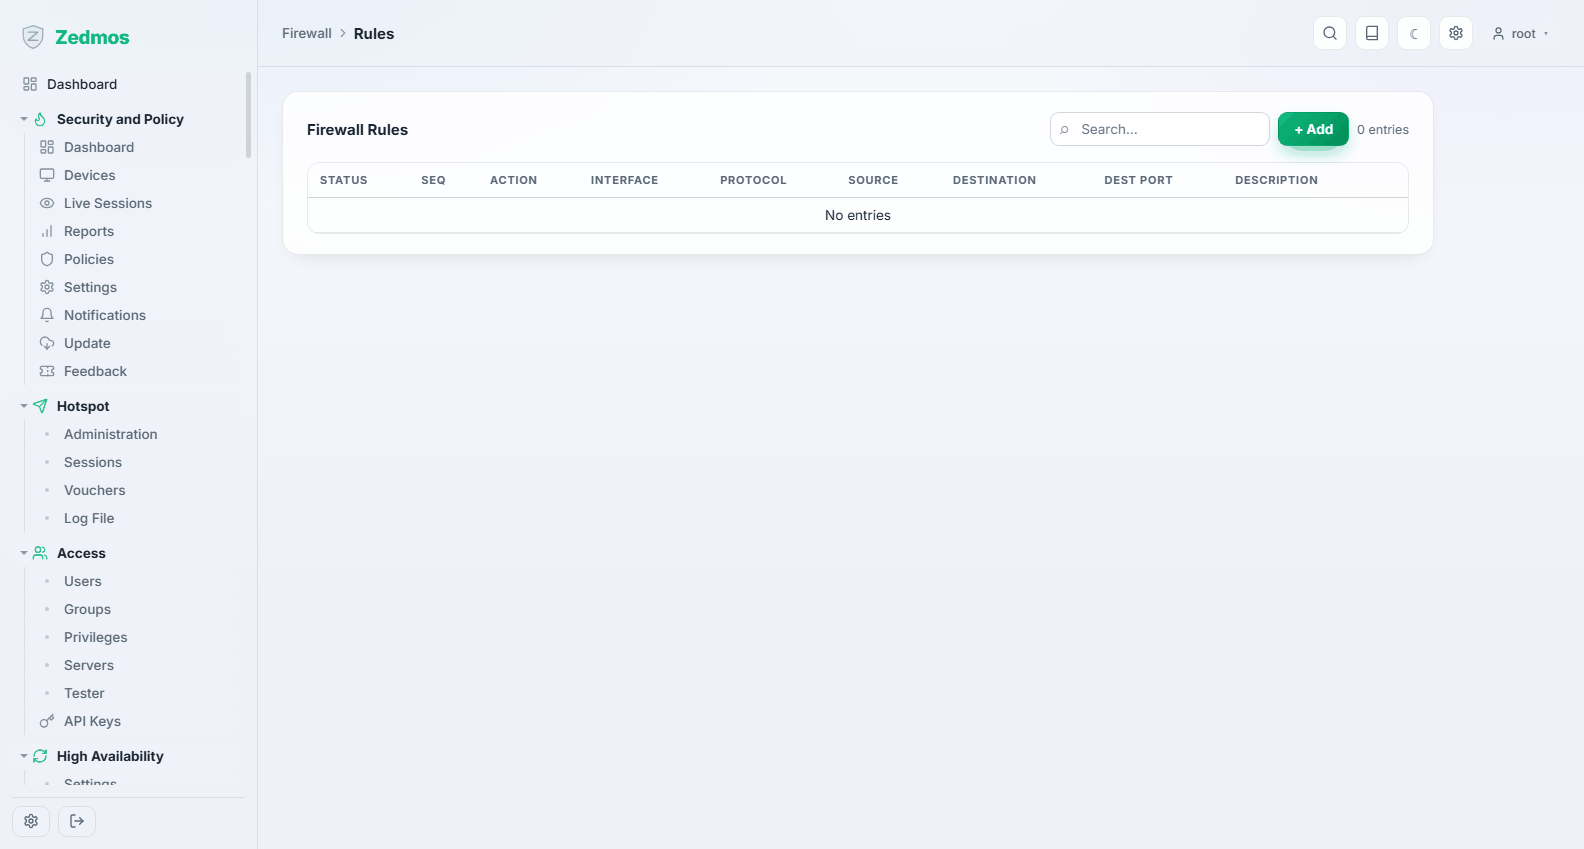
The factory ruleset lets the internal network out and blocks unsolicited traffic from the uplink. That is a sound starting point. Add to it rather than replacing it, and keep the rule that guarantees you can reach the panel until you are certain you have another way in.
4.8 Take a backup
System → Configuration → Backups, and download the configuration.
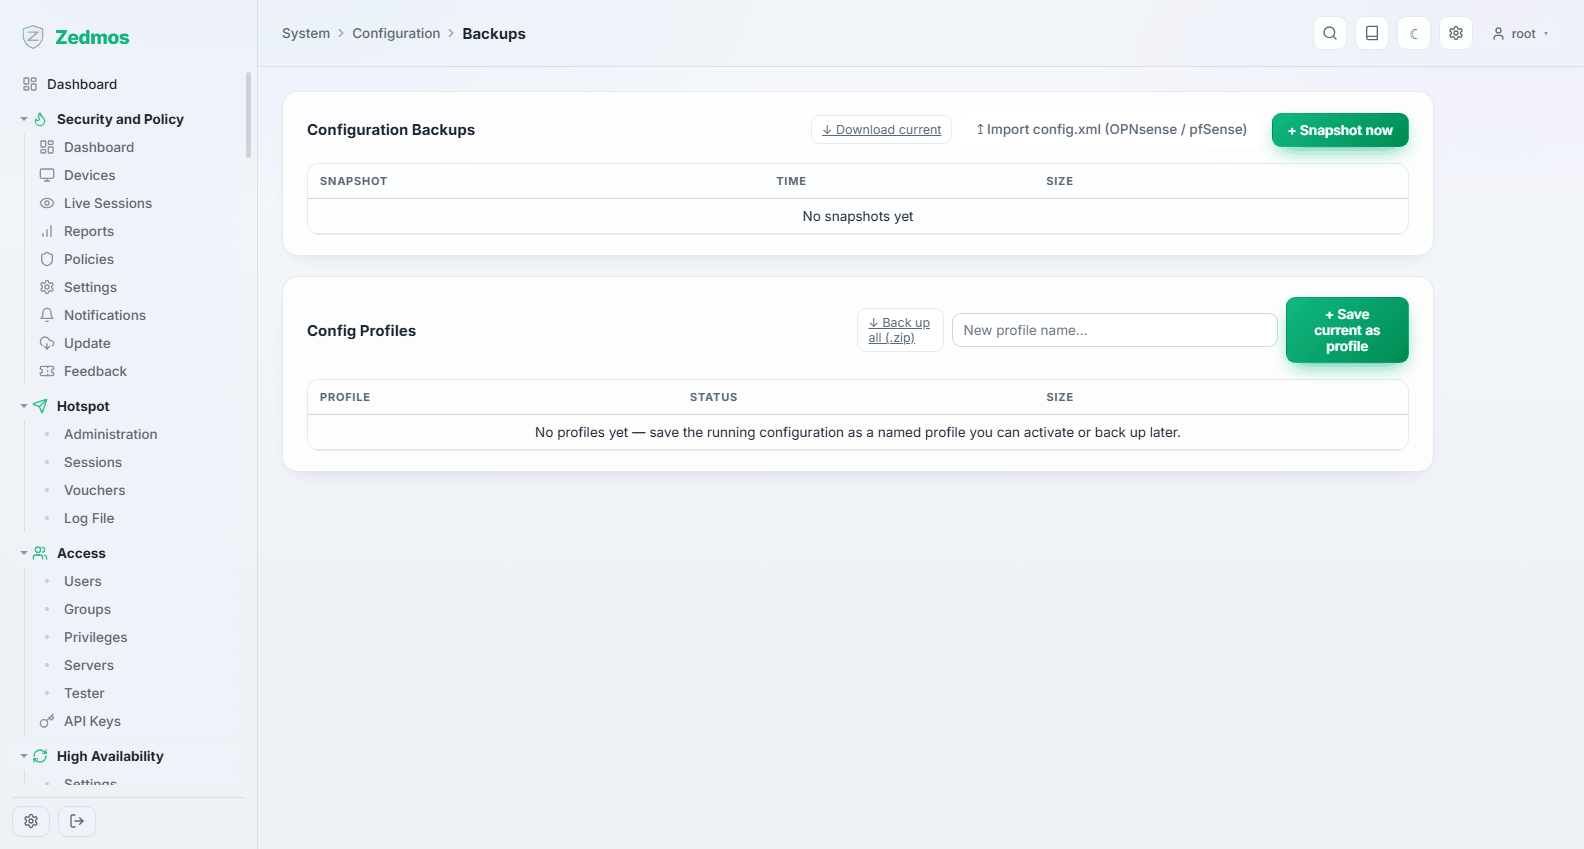
Do it now, while the appliance is in a known-good state, and again after every significant change. The file contains everything — including keys and password hashes — so store it the way you would store a password.
4.9 Then what?
- Walk the panel: The control panel.
- Build something specific: Use cases — publishing a server, a site-to-site VPN, guest Wi-Fi, two uplinks with failover.
- Keep it running: Maintenance.